Showing posts with label EMBOSSING. Show all posts

Monday, May 25, 2015

HANDMADE WEDDING SHAKER CARD - IINSTRUCTIONS on how to make your own Acetate and shaker Cards.


Just playing around with my supplies and thought Ive never seen a  wedding shaker card before so, thought i would give one a go and this is what i ended with.

The card has been embossed using the Big Shot, and a 5" x 7" embossing folder.
The Centre of the embossed card has been removed to make way for the shaker viewing part of the card.  A craft stanley knife was used.

DO YOU MAKE YOUR OWN ACETATE ?
Acetate can be hard to come by at times and not many places stock it.  I now make my own
Simply using a Laminating Machine and A4 laminating pouches.  I run
the pouch through the heated laminater twice and there you have it your own Acetate.

If you are wanting a thicker Acetate that will stand up for pop ups etc, its simple.
Just put a laminating pouch inside of another pouch and put through the heated laminater twice.

To make your shaker:
Simply fold your ready made Acetate in half, cut the folded acetate  to fit inside the card front, I recommend cutting it 1/4" shorter on 3 of the sides.  Place your shaker items inside of the cut down acetate and seal it on the side and bottom.  To secure the shaker card, i use red sticky, its double sided and the strongest of tapes and not likely to come unstuck.  If using glitter in your shaker card, now is the time to put it inside the acetate shaker before sealing it.

To complete the card:
Once the shaker is made, its now time to place it inside the card.  I have place red sticky on the front of the shaker on all four sides, peeled off the backing tape and placed it inside the card.
To finish off the card i have lined the inside of the card to cover the mechanics of the shaker card and to give a backing to make the shaker more prominent.
Enjoy I hope these instructions have inspired you to create your own.
Please feel free to email me if you need any help or advice at
traceyray@live.com.au


Sunday, March 1, 2015

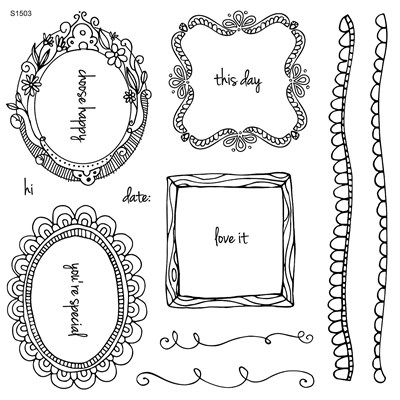
HEAT EMBOSSING CARD WITH CLOSE TO MY HEART CHOOSE HAPPY AUSTRALASIAN BLOG HOP


Hello, Welcome to our Close To My Heart Australasian February Stamp of the month  -  Blog Hop. If you have arrived here from Kays - Kreative Kay blog  then you are in the right place. If you landed here by accident, no problem, please join in by following the link at the end of this post. We'd love you to leave a comment on each blog hop post along the way to let us know you've enjoyed your hop !!!!!!!!!! 


Its available for purchase all year round for $27.00 from your CTMH Consultant
.or from February 1st - 28th you can purchase it for only $5.00 with EVERY $75.00 you spend.


From the moment I saw this stamp set, this card immediately sprang into my mind.
You know when you just need to make that quick and simple card that's yet elegant, well this one is it.
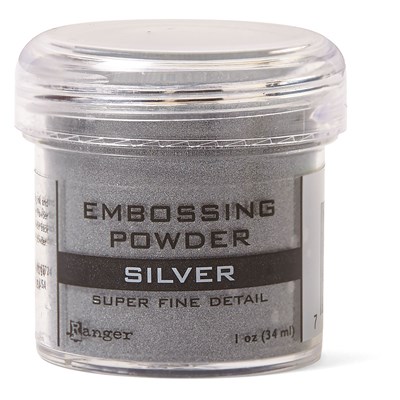
I've used the heat embossing technique on this card using our SOTM and the Ranger Silver embossing powder with Versa mark ink.  And heat embossed the images from the stamp set.


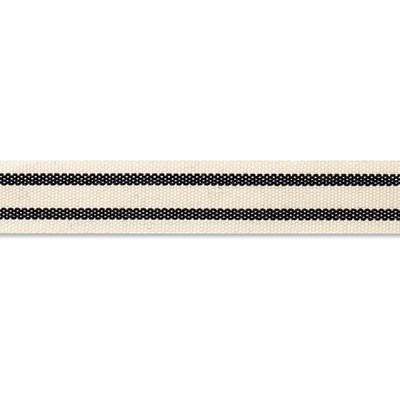
To bring the card to life, I have embellished the card using our Border Scallop punch, Shimmer Trim and our gorgeous Black stripped Twill Ribbon.  You might notice that the Shimmer Trim is scalloped and so is the bottom of the black card.  I first used our scallop punch to punch a long the bottom of the card.  A handy tip when using the punch to ensure you shape comes out even, butt your cardstock up to the edge of the punch and line the corner of the card with the image on the top of the punch, they way you will always start the pattern of correctly.  Another HANDY TIP, is use the images on either side of the head of the punch to line your already punched card, remembering to keep the card butted up against the edge and continue on using the shadow guide to line up your card stock.
Finally my 3rd HANDY TIP, is there is a small degree of difficulty using any punch to border punch shimmer trim, so my tip for you all is to turn it over and punch it along on the peel off side of the SHIMMER TRIM.  This is handy firstly to ensure a crisp even cut of the punch but also to, stop your punch from becoming blunt sooner. 
Continue on with the blog hop now and head on over to Lauren Moore's  -  CTMH CRAFTINGS.


Friday, January 2, 2015

HANDMADE SYMPATHY CARDS WITH CLOSE TO MY HEART BIG HUG AND SINCERE EXPRESSIONS

 
With Christmas over, its a sad reminder that life goes on.  Christmas week, saw many joys and some lows with the death of two friends. So, I needed to make a couple of Sympathy cards.
 
I've used two stamp sets in this card, SINCERE EXPRESSIONS a great little stamp set for only $10.00 and the other stamp set was BIG HUG.  Each sentiment has been embosses with silver embossing powder from our EMBOSSING POWDER RANGE and decorated with our heart puffy from our new Stuck on you Puffies in our New Seasonal Expression magazine

Sincere Expressions Item Number: A1146

Big Hug Item Number: D1584


 Stuck on You Puffies Item Number: Z3037