Hello, Welcome to our Close To My Heart Australasian July Stamp of the month - We'd love you to leave a comment on each blog hop post along the way to let us know you've enjoyed !!!!!!!!!! I hope you like my Double Scrapbooking "mixed media"Pages.

Its available for purchase all year round for $27.00 from your CTMH Consultant
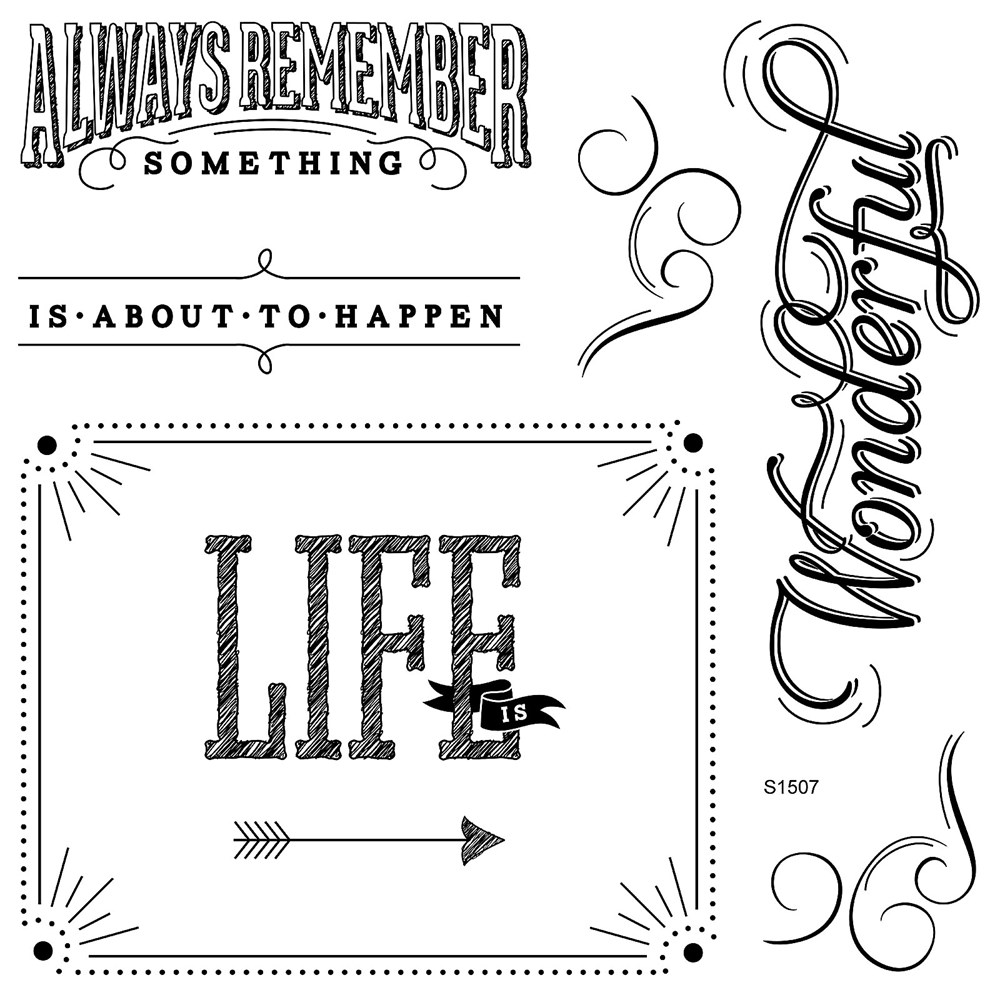
or from July 1st - 31st you can purchase it for only $5.00 with EVERY $75.00 you spend or During the month of July, when you purchase $32.50 AUD in current, retail priced stamps, you qualify to receive the July Stamp of the Month, My Acrylix® Life Is Wonderful, FREE
Firstly, I wanted to share with you all how to make your own Close To My Heart Unique
home made stencils and embellishments. WE all know how expensive it can be to buy stenicls and embellishments right. But you probably have all you need at home to make your own. Whether it be for Scrapbooking, Cardmaking or Mixed Media. Its so easy, To make stencils all you need is Laminating Pouches, Laminating Machine, Cricut Machine and our fabulous Artbooking Cricut Collection Cartridge. To make your own embellishments as in the above picture, its easy. Simply use some grey chipboard, cricut machine and Artbooking Cartridge and cut out your own clocks and cogs in various sizes. In the above pages, i have used them and ctmh burlap ribbon to add some texture to the pages. Also included are some of ctmh assortments such as Yuletide, Sarita, for always and Base N Bling Charms. In other projects i have also used Artiste and Artphilosphy cartridges to cut out rolled roses and embellished with them in mixed media, scrapbooking and cardmaking as you will see in some of my other projects.
Using an A4 laminating Pouch put it through your hot laminating machine. Allow the pouch to cool off and adhere it to a New Cricut cutting mat. Using your Artbooking Cartridge, search the overlay section. Ive used the brick one this time, but however choose your favourite. Set your RDS to 11" and set your cutting Depth 5, Speed 5 and Cutting 2 and then cut. Wella you have your own stencils and so many styles to choose from to make.
The stencils turns out great and make a great base for your creations. Try using your stencils with a spray pen or spritzer to create great back grounds on your projects.
HANDY TIPS:
Tip 1 - Mix CTMH Liquid Glass with one of our Coloured Reinkers and you will
get a nice shiny glossy finish to what you apply it to.
Fill with water to the 2nd top line and then use your colour reinker to fill to the last line.
Remember to leave a comment to let me know you stop by and now
COME BACK SOME TIME AND CHECKOUT MORE OF MY MIXED MEDIA PROJECTS


Very crafty. Thank you for sharing.
ReplyDeleteThank you meryl, glad you stopped by.
DeleteGood tips. Look forward to seeing your bricks on other projects now too.
ReplyDeleteThank you Anne, the brick stencil is fast becoming my favourite handmade stencil.
DeleteVery imaginative and I never thought to add re-inkers to liquid glass.
ReplyDeleteThanks Patricia, I actually discovered it by accident, and it worked so i ran with it lol. I love how it gives a raised glossy finish.
DeleteThanks for the detailed instructions Tracey. How beautiful those cherubs look in the photo on second page!
ReplyDeleteMy pleasure Shaunna and thank you. Please let me introduce you to the cherubs, (proud bragging nanny). My gorgeous grandsons - Levi 15 months and Zavier 4 months.
DeleteYay! Love the mixed media :)
ReplyDeletehehehehe, thanks Jen, thought i would mix it up, pardon the pun lol.
DeleteLove seeing what you come up with each month!
ReplyDeleteThank you Georgia xx
DeleteThis is great Tracey, love the idea of make reusable stencils out of laminated laminating pouch. Will have to give that a try - done heaps out of old card stock.Might be time to pull out all my old mixed media stuff & revisit it soon.
ReplyDeleteThank you maz, I love them and they last for ages.
DeleteLots of helpful tips in your post Tracey- thank you! :)
ReplyDeleteGreat instructions on making the background "wall". Thanks for sharing them. Sorry its taken me so long to get around to commenting on your work. I've just got my laptop back after a long time unuseable.
ReplyDelete